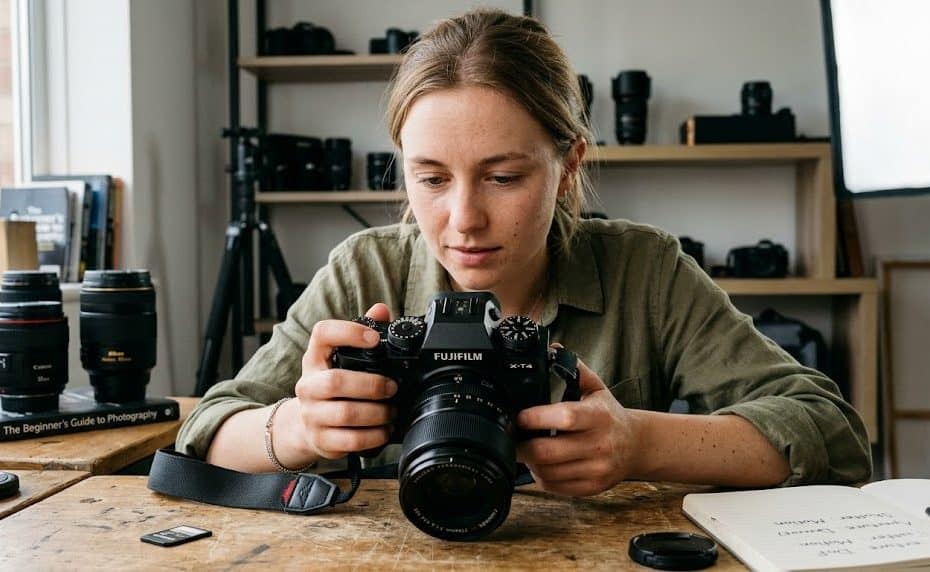
Photography is much more than pointing a camera at a subject and pressing the shutter button. While modern cameras are packed with automatic features, understanding the essential camera settings gives beginners greater control over their images and helps them create photographs that truly reflect their creative vision.
Many new photographers focus heavily on buying the latest equipment, but the reality is that mastering camera controls is far more important than owning expensive gear. Once you understand how settings such as aperture, shutter speed, ISO, white balance, autofocus modes, and shooting modes work, you’ll be able to capture sharper, brighter, and more professional-looking photos in a variety of situations.
This guide explains the most important camera settings every beginner should learn and how they work together to produce great photographs.
Why Understanding Camera Settings Matters
One of the biggest mistakes beginners make is relying entirely on automatic settings. While Auto mode can produce decent results in many situations, it doesn’t always understand your creative intentions.
For example, you may want a blurry background for a portrait or a frozen action shot of a running athlete. Automatic settings often make decisions based on technical exposure rather than artistic goals.
Learning the fundamental camera controls helps you:
- Take creative control of your photos
- Handle different lighting situations
- Improve image quality
- Capture moving subjects effectively
- Develop confidence as a photographer
- Reduce reliance on editing software
The foundation of photography begins with understanding exposure.
Understanding the Exposure Triangle
The exposure triangle consists of three key settings:
- Aperture
- Shutter Speed
- ISO
These settings work together to determine how bright or dark an image appears.
Changing one setting usually requires adjusting another to maintain proper exposure. Mastering the relationship between these three controls is one of the most important skills in photography.
Let’s explore each component individually.
Aperture: Controlling Light and Depth of Field
Aperture refers to the opening inside the lens that allows light to enter the camera.
It is measured using f-numbers such as:
- f/1.8
- f/2.8
- f/4
- f/8
- f/11
- f/16
How Aperture Works
A lower f-number means a larger opening that allows more light into the camera.
Examples:
- f/1.8 = large opening
- f/16 = small opening
Many beginners find this numbering system confusing because smaller numbers represent larger openings.
Aperture and Background Blur
Aperture affects depth of field, which determines how much of the image appears in focus.
Wide Aperture (f/1.8 – f/4)
Characteristics:
- More light enters the camera
- Shallow depth of field
- Blurred background
- Excellent for portraits
A wide aperture helps separate the subject from the background, creating a professional look often seen in portrait photography.
Narrow Aperture (f/8 – f/16)
Characteristics:
- Less light enters the camera
- Greater depth of field
- More of the scene remains sharp
- Ideal for landscapes
Landscape photographers often use narrower apertures to keep both foreground and background in focus.
Beginner Tip
When photographing people, start around f/2.8 to f/4. For landscapes, experiment with f/8 to f/11.
Shutter Speed: Controlling Motion
Shutter speed determines how long the camera’s sensor is exposed to light.
It is measured in seconds or fractions of a second.
Examples:
- 1/1000 second
- 1/500 second
- 1/250 second
- 1/60 second
- 1 second
- 10 seconds
Fast Shutter Speeds
Examples:
- 1/500
- 1/1000
- 1/2000
Benefits:
- Freeze motion
- Capture sports and wildlife
- Reduce blur from camera shake
If you’re photographing a soccer player running across a field, a fast shutter speed helps keep the subject sharp.
Slow Shutter Speeds
Examples:
- 1/30
- 1 second
- 10 seconds
Benefits:
- Capture motion blur
- Create artistic effects
- Useful in low-light conditions
Slow shutter speeds can create beautiful effects such as silky waterfalls or light trails from cars at night.
Common Beginner Mistake
Using a shutter speed that is too slow while handholding the camera often causes blurry photos.
As a general rule, beginners should try to stay above 1/125 second when photographing stationary subjects without a tripod.
Choosing the Right Shutter Speed
Consider these starting points:
- Sports: 1/1000 second or faster
- Birds: 1/2000 second or faster
- Walking people: 1/250 second
- Portraits: 1/125 second
- Landscapes with tripod: several seconds if needed
ISO: Managing Camera Sensitivity
ISO controls how sensitive the camera sensor is to light.
Common ISO values include:
- ISO 100
- ISO 200
- ISO 400
- ISO 800
- ISO 1600
- ISO 3200
- ISO 6400
Low ISO Settings
Examples:
- ISO 100
- ISO 200
Advantages:
- Cleaner images
- Better detail
- Minimal digital noise
Low ISO settings are ideal when plenty of light is available.
High ISO Settings
Examples:
- ISO 1600
- ISO 3200
- ISO 6400
Advantages:
- Brighter images in dark environments
- Faster shutter speeds possible
Disadvantages:
- Increased image noise
- Reduced detail
Understanding Noise
Noise appears as grainy or speckled texture throughout an image.
While modern cameras handle high ISO better than ever, keeping ISO as low as practical generally produces the best image quality.
Beginner ISO Strategy
Use:
- ISO 100–200 outdoors during daylight
- ISO 400–800 indoors with good lighting
- ISO 1600 and above in low-light situations when necessary
Always prioritize achieving a sharp image over keeping ISO extremely low.
White Balance: Getting Accurate Colors
Have you ever taken a photo indoors that looked yellow or orange? Or a snowy scene that appeared blue?
White balance is responsible for correcting color temperature and ensuring colors appear natural.
What Is Color Temperature?
Different light sources produce different color tones.
Examples:
- Candlelight: warm orange
- Household bulbs: yellow
- Daylight: neutral
- Shade: blue
- Overcast skies: cool blue
White balance helps the camera compensate for these color casts.
Common White Balance Settings
Auto White Balance (AWB)
The camera automatically determines color temperature.
Best for:
- Everyday photography
- Beginners
- Mixed shooting situations
Daylight
Designed for sunny outdoor conditions.
Produces natural colors under direct sunlight.
Cloudy
Adds warmth to compensate for cool cloudy light.
Excellent for portraits outdoors.
Shade
Adds even more warmth.
Useful when shooting in heavily shaded areas.
Tungsten
Corrects orange tones from indoor incandescent lighting.
Fluorescent
Balances green color casts from fluorescent lights.
When Beginners Should Use Auto White Balance
Auto White Balance performs very well on modern cameras and is often the best starting point.
As you gain experience, experimenting with manual white balance settings can help achieve more consistent and creative results.
Autofocus Modes: Keeping Subjects Sharp
Even perfectly exposed photos can be disappointing if the subject isn’t in focus.
Understanding autofocus modes helps ensure your images remain sharp.
Single Autofocus Mode
Often labeled:
- AF-S
- One Shot AF
This mode focuses once when the shutter button is half-pressed.
Best for:
- Portraits
- Landscapes
- Architecture
- Stationary subjects
Once focus is achieved, it remains locked until the photo is taken.
Continuous Autofocus Mode
Often labeled:
- AF-C
- AI Servo
This mode continuously adjusts focus as the subject moves.
Best for:
- Sports
- Wildlife
- Children
- Action photography
The camera constantly tracks movement, helping keep subjects sharp.
Automatic Autofocus Mode
Some cameras offer an automatic autofocus setting that switches between single and continuous focus based on subject movement.
While convenient, experienced photographers often prefer selecting the autofocus mode manually.
Focus Area Selection
Modern cameras also provide multiple focus point options.
Single Point Focus
You select a specific focus point.
Advantages:
- Precise control
- Excellent for portraits
- Ideal for static subjects
Zone or Dynamic Area Focus
The camera uses a group of focus points.
Advantages:
- Easier subject tracking
- Useful for moving subjects
Beginner Recommendation
Use single-point autofocus for portraits and landscapes, and continuous autofocus for action photography.
Shooting Modes: Taking Control of Your Camera
The mode dial on your camera determines how much control you have over settings.
Understanding these modes is essential for progressing beyond beginner photography.
Auto Mode
The camera controls everything.
Advantages:
- Easy to use
- Good for snapshots
Disadvantages:
- Limited creative control
- Not ideal for learning photography
Auto mode is helpful initially, but photographers improve faster by moving beyond it.
Program Mode (P)
The camera chooses aperture and shutter speed while allowing adjustment of other settings.
Benefits:
- More control than Auto mode
- Good transition mode for beginners
Aperture Priority Mode (A or Av)
You select the aperture.
The camera automatically chooses the shutter speed.
Best for:
- Portraits
- Landscapes
- Everyday photography
This is often the most useful learning mode for beginners because it teaches the impact of depth of field.
Shutter Priority Mode (S or Tv)
You choose the shutter speed.
The camera selects the aperture.
Best for:
- Sports
- Wildlife
- Action photography
This mode helps photographers prioritize motion control.
Manual Mode (M)
You control:
- Aperture
- Shutter speed
- ISO
Benefits:
- Complete creative freedom
- Consistent exposure
- Greater understanding of photography
Many beginners find Manual mode intimidating, but it becomes easier once the exposure triangle is understood.
How These Settings Work Together
Imagine you’re photographing a child playing soccer in late afternoon light.
You need:
- Fast shutter speed to freeze movement
- Appropriate aperture for subject separation
- ISO high enough to maintain brightness
You might choose:
- Shutter speed: 1/1000 second
- Aperture: f/4
- ISO: 400
Now imagine photographing a landscape at sunset.
You need:
- Large depth of field
- Maximum image quality
- Slower shutter speed acceptable
You might choose:
- Aperture: f/11
- ISO: 100
- Shutter speed: 1 second (using a tripod)
The correct settings depend entirely on the subject and lighting conditions.
Practical Tips for Beginners
Learn One Setting at a Time
Avoid trying to master every camera control simultaneously.
Spend a week focusing on aperture, then move to shutter speed and ISO.
Review Your Images
After taking photos, examine them carefully.
Ask yourself:
- Is the image sharp?
- Is the exposure correct?
- Are the colors accurate?
- Is the background blur appropriate?
This feedback accelerates learning.
Practice in Different Lighting Conditions
Photograph:
- Bright sunlight
- Cloudy days
- Indoor environments
- Sunset scenes
- Nighttime settings
Different situations reveal how camera settings affect results.
Use Aperture Priority Frequently
Many photographers recommend Aperture Priority as the best learning mode because it balances control and convenience.
You’ll quickly understand how aperture affects image appearance while the camera handles exposure calculations.
Conclusion
Understanding camera settings is the foundation of becoming a skilled photographer. While modern cameras offer impressive automatic features, learning aperture, shutter speed, ISO, white balance, autofocus modes, and shooting modes gives you the ability to make creative decisions rather than relying on the camera to make them for you.
The goal isn’t to memorize every setting overnight. Instead, focus on understanding how each control influences the final image. As you practice, these adjustments become second nature, allowing you to respond confidently to different lighting conditions and photographic challenges.
Remember, great photography is not about/ owning the most expensive camera. It’s about/ understanding how to use the tools you already have. By mastering these essential camera settings, you’ll be well on your way to capturing sharper, more creative, and more professional-looking photographs.